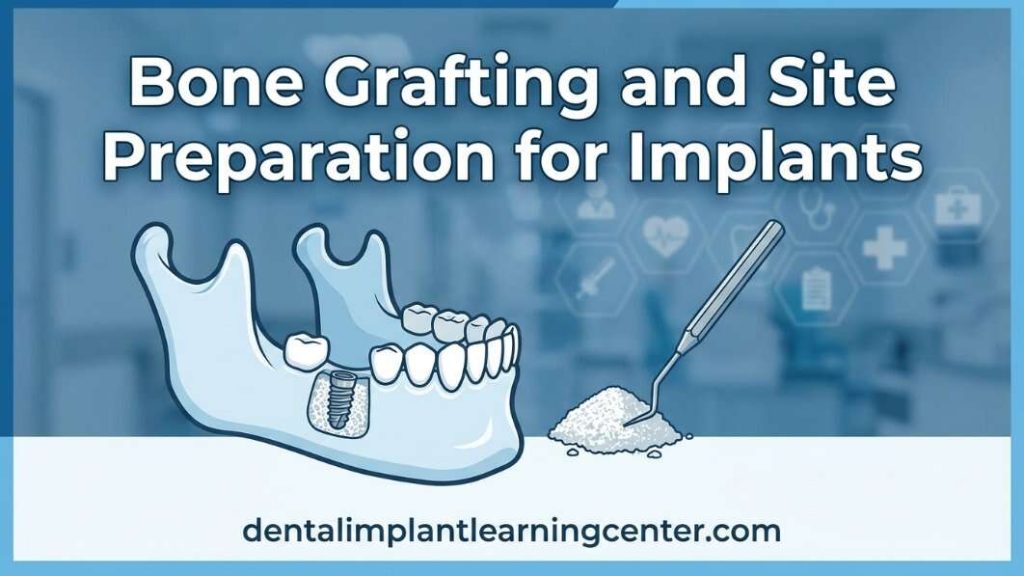
Why Site Preparation Determines Implant Success
When an implant fails, the cause is rarely the implant itself. More often, it traces back to a decision (or a missed decision) made weeks or months earlier at the site preparation stage. Bone volume, soft tissue quality, sinus anatomy, and the timing of grafting all determine whether an implant integrates predictably or not.
At the Dental Implant Learning Center, we teach site preparation the way we practice it: as the foundation of every successful implant case. This article walks through the clinical decisions every implant dentist faces when planning bone grafting and site preparation, the evidence behind the techniques we teach, and the practical judgment calls that separate routine cases from compromised ones. If you are new to surgical implantology and want a structured way to build these skills, our aseptic technique fundamentals post is a useful companion read.
The bone you have on the day of placement is not the bone you started with at extraction. Resorption begins almost immediately after a tooth is removed, and most of it happens fast. A widely cited systematic review by Tan and colleagues found that human re-entry studies show horizontal bone loss of 29 to 63 percent and vertical bone loss of 11 to 22 percent at six months following extraction, with the majority of that loss occurring in the first three to six months [1].
That means a tooth extracted today, left to heal on its own, will leave a ridge that is often inadequate for ideal three-dimensional implant positioning by the time the patient is ready to restore it. The buccal plate is the most vulnerable structure in the socket, and most of the time we are not starting with the 2 mm of buccal wall thickness that is generally recommended for long-term implant stability. Raising a flap compromises what blood supply the buccal plate has left, which is why flapless and atraumatic technique is the foundation of every site preparation case we teach. [2]
Diagnostic Workup: What We Look at Before Touching the Tissue
Site preparation starts with diagnosis. A panoramic radiograph is rarely enough on its own. CBCT imaging gives us the bone width, height, density, and proximity to anatomic structures (the inferior alveolar nerve, mental foramen, sinus floor, nasal cavity) that determine whether a site is implant-ready, requires preservation, or needs augmentation before placement. [3]
The diagnostic questions we run through in our Live Hands On Implant Surgical Program are essentially these: Is there enough bone in three dimensions for prosthetically driven placement? If not, can the deficit be corrected at the time of extraction, at the time of implant placement, or does it require a staged approach? What is the soft tissue biotype, and will it support an aesthetic emergence profile? Are there systemic factors (uncontrolled diabetes, active smoking, bisphosphonate history) that change the risk profile?
The goal of this workup is not just to decide whether to graft. It is to decide when to graft and with what material, because those two choices drive most of the variability in outcomes.
Hands-on training is the fastest way to turn diagnostic instincts into surgical confidence.
[maxbutton id=”1″ url=”https://dentalimplantlearningcenter.com/#Contact_us” text=”Explore Our Surgical Programs” ]
Socket Preservation: The Highest-Yield Intervention in Implant Dentistry
If we had to pick one procedure that pays the largest dividend per minute of chair time, it would be socket preservation at the time of extraction. The biology is straightforward. By placing a graft material into the socket immediately after extraction and covering it with a barrier (a collagen plug, a d-PTFE membrane, or a resorbable collagen membrane), we limit the dimensional collapse that would otherwise occur. Socket grafting can substantially reduce horizontal ridge resorption compared with spontaneous healing. A 2022 retrospective study comparing alveolar ridge preservation against unassisted healing reported a mean horizontal width loss of 0.86 mm in the ARP group versus 2.03 mm in the spontaneous healing group at six months, with ARP also reducing the proportion of patients requiring additional grafting at implant placement (9 percent vs 26 percent). [4]
The technique itself is not complicated, but the details matter. Atraumatic extraction is non-negotiable; preserving the buccal plate during luxation is more important than the choice of graft material. Periotomes, piezosurgery, and vertical luxation with thin elevators all help. Once the tooth is out, we debride granulation tissue thoroughly, irrigate, and confirm intact socket walls. If the buccal plate is missing or fractured, the case has just become a guided bone regeneration case rather than a simple preservation case, and the planning changes accordingly. [2]
Choosing a Graft Material: Autograft, Allograft, Xenograft, or Alloplast
Every implant dentist eventually settles into preferred materials, but it helps to understand the tradeoffs we cover in our hands-on courses.
Autogenous bone, harvested from the chin, ramus, tuberosity, or an extraoral site, remains the gold standard because it brings live osteogenic cells along with osteoinductive growth factors and an osteoconductive scaffold. The drawback is donor site morbidity and limited volume, which is why pure autograft has largely been replaced by composite grafts in routine practice. [5]
Allografts (mineralized or demineralized freeze-dried bone from human donors) provide an osteoconductive scaffold and, in the demineralized form, some osteoinductive potential from preserved bone morphogenetic proteins. Allografts integrate predictably and resorb at a rate that supports new bone formation without leaving long-standing residual particles in most cases. [5]
Xenografts, most commonly deproteinized bovine bone, resist resorption longer than allografts. That can be an asset (maintained ridge volume in aesthetic zones) or a liability (slower turnover to vital bone), depending on what the case needs. A retrospective analysis of bone graft outcomes found a 100 percent graft success rate and a 97.2 percent overall implant survival rate at a mean follow-up of 70 months, with autograft and allograft sites at 100 percent and xenograft sites at 92.9 percent. The differences are clinically meaningful in long-term cases but small enough that material choice should be driven by site biology, not brand loyalty. [6]
Alloplasts (synthetic hydroxyapatite, beta-tricalcium phosphate, bioactive glass) are useful when patients decline biological materials or when a longer-lasting scaffold is desired. The tradeoff is generally slower remodeling. [5]
When Site Preparation Becomes Site Augmentation
Not every site can be salvaged with socket grafting. When a patient presents months or years after extraction with significant horizontal or vertical deficits, we move from preservation to augmentation, and the technique selection becomes more demanding.
Guided Bone Regeneration
GBR is the workhorse for moderate horizontal deficits. The principle is mechanical: a barrier membrane prevents fast-growing soft tissue cells from invading the defect, giving slower osteogenic cells time to populate the space. We layer particulate graft material against the residual ridge, cover with a resorbable or non-resorbable membrane, and achieve tension-free primary closure. The most common technical failures we see in course participants are inadequate flap release leading to wound dehiscence, and graft particles that migrate because the membrane was not stabilized with tacks or sutures. [7]
Ridge Splitting and Bone Expansion
For ridges that have adequate height but insufficient width (typically four to five millimeters), ridge splitting can avoid the need for a separate augmentation procedure. The osteotomy is carried apically, and the buccal plate is gently expanded with osteotomes or specialty instruments. The gap is filled with graft material, and an implant can often be placed simultaneously. This is a technique that benefits enormously from cadaver practice before patient application, which is why it is featured in our advanced surgical programs.
Block Grafting
Severe horizontal or vertical defects sometimes require autogenous or allogeneic block grafts. Ramus and chin blocks remain reliable for moderate-volume reconstructions. The screw fixation, recipient bed preparation, and soft tissue management for block grafts are unforgiving, and we strongly recommend that dentists new to these procedures observe and assist before performing them independently.
Augmentation cases are where reading meets reality. Cadaver and live-patient reps make the difference.
[maxbutton id=”1″ url=”https://dentalimplantlearningcenter.com/#Contact_us” text=”Find Your Next Course” ]
Sinus Augmentation: Lateral Window vs. Crestal Approach
The posterior maxilla deserves its own conversation because the sinus floor sets a hard ceiling on implant length. The decision between a lateral window and a crestal (transcrestal) approach is driven primarily by residual bone height.
Most clinicians use a residual bone height of about 5 millimeters as the dividing line. When residual ridge height exceeds roughly 5 millimeters, a crestal approach is typically preferred because it is less invasive and carries lower complication risk. When the bone height drops to 4 millimeters or less, the lateral window approach becomes the more predictable option because it provides direct visualization of the Schneiderian membrane and allows greater vertical augmentation. Newer techniques and instruments have pushed the crestal approach into lower residual bone scenarios, but for clinicians building these skills, the 5 mm threshold is a reasonable default. [8]
Schneiderian membrane perforation is the most common intraoperative complication of lateral window sinus lifts, with reported incidence ranging widely across studies. A systematic review of 1,598 sinus lift surgeries reported a perforation rate of 30.6 percent, and importantly found that perforations repaired with collagen membranes did not significantly reduce implant survival (97.68 percent under repaired membranes vs. 98.88 percent under intact membranes). The lesson we emphasize: perforations happen, even to experienced surgeons. What matters is recognizing them immediately and managing them properly. [9]
Healing Timelines and When to Place the Implant
Patients ask “how long until the implant?” and the honest answer is “it depends on the graft material and the case.” Autograft and allograft sites typically integrate enough for implant placement at three to six months. Xenograft sites generally need four to nine months because the bovine particles remodel more slowly. Alloplast sites take the longest, often six to twelve months, because synthetic scaffolds turn over more gradually than biological materials. [10]
The temptation to place early is real, especially when patients are anxious about treatment timelines. Resist it. Placing into immature graft material is one of the most reliable ways to compromise primary stability and start the case at a disadvantage.
How We Train These Skills
Reading about bone grafting and performing it are different skills. The judgment calls (when to graft simultaneously vs. stage, how aggressive to be with flap release, when to abort and reschedule) develop only with reps. Our Live Hands On Implant Surgical Program is built around that reality. Participants work on cadavers, mannequins, and live patients under direct faculty supervision, performing socket grafting, ridge augmentation, sinus elevation (both lateral and crestal), and immediate implant placement. Most of what we teach is technique refinement that cannot be conveyed through lectures alone.
If you are at the point where you have completed a continuum program and want focused, surgical-volume practice in bone grafting and site preparation, reach out to schedule a conversation about which of our courses fits your stage of training.
Take the next step in your implant career with structured, surgical-volume training.
[maxbutton id=”1″ url=”https://dentalimplantlearningcenter.com/#Contact_us” text=”Reserve Your Spot” ]
References
1. https://pubmed.ncbi.nlm.nih.gov/22211303/
2. https://www.cdnimplants.com/post/extraction-tips-part-1
3. https://radiologykey.com/cbct-in-dental-implant-planning-radiographic-risk-assessment-and-anatomical-considerations/
4. https://link.springer.com/article/10.1186/s40729-022-00456-w
5. https://glidewelldental.com/education/chairside-magazine/volume-12-issue-3/bone-substitutes
6. https://pubmed.ncbi.nlm.nih.gov/38686547/
7. https://glidewelldental.com/education/chairside-magazine/volume-15-issue-2-special-implant-edition/guided-bone-regeneration-8-steps-to-successful-ridge-augmentation
8. https://www.ncbi.nlm.nih.gov/pmc/articles/PMC6046141/
9. https://www.ncbi.nlm.nih.gov/pmc/articles/PMC8273047/
10. https://legacysurgery.com/how-long-should-you-wait-after-a-bone-graft-for-implants/